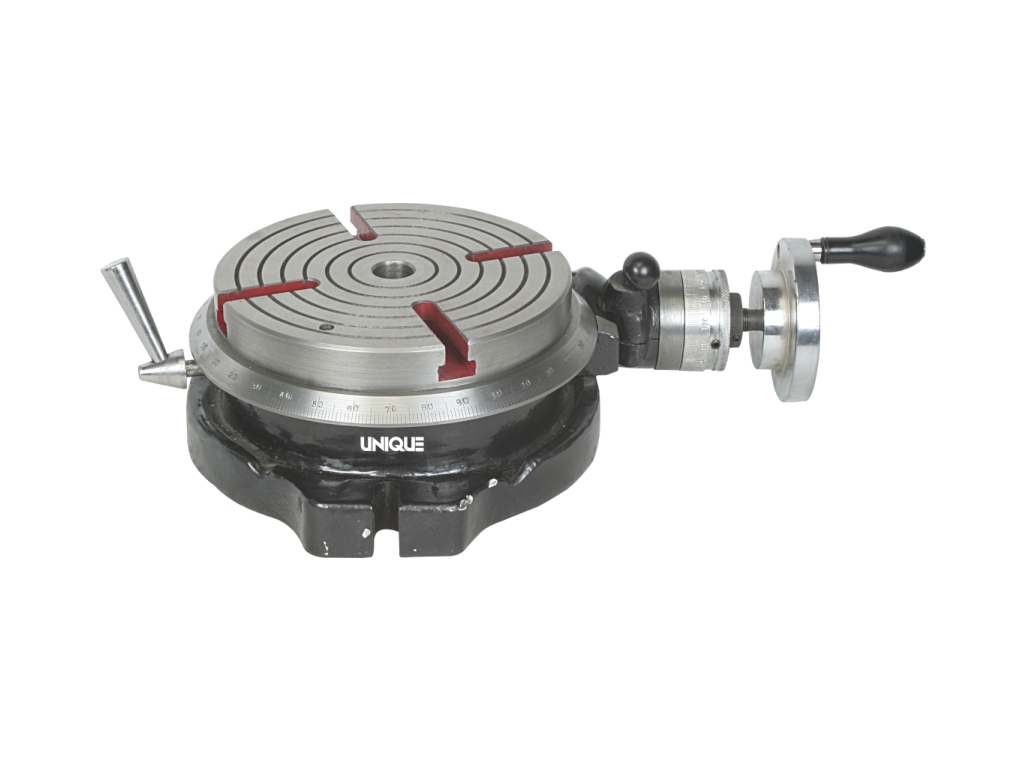
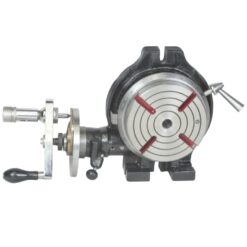
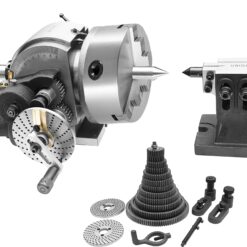
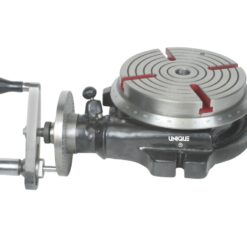
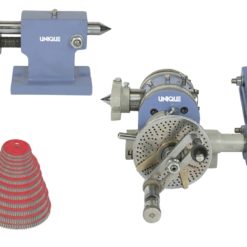
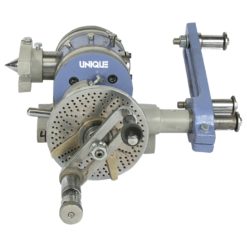
Rotary Milling Table Horizontal ( Without Indexing Device). Code No. U334
₹14,058.00 – ₹112,178.00
– The Table & Body manufacturered from close grain shock resisting cast iron.
– The body is provided with two bolt slots in Code No. U335 & U337 for mounting on machine
– Table vertically & Horizontally.
– Provided with quick & precise disengagement of worm drive.
– Efficient lock provided.
– End play in wormshaft is adjustable.
– An eccentric sleeve with thrust Bearing races in the worm shaft.
– Provision for fine zero adjustment when setting work piece.Works as an index centre in the vertical position as well as convential Rotary Table grarduated 360º Indexing Plate is provided to enable the user to convert quickly to use indexing plates for fast setting.
– Direct reading to 2 minutes for size 6″, 8″ & 10″ on hand wheel scale.
– Direct reading to 1 minute for size 12″, 15″,18″ & 20″ in hand wheel scale.
– High accuracy, easy reading of all dias clear & functional arrangement of all operating elements sturdy yet simple good looking practical design. These are widely used for circular cutting, angle setting, boring & spot facing with a milling machine.

